

From Grime to Glory: Reviving a 1940 UPF 7 Biplane Beauty
- Tony Caldwell

- Dec 4, 2024
- 6 min read
Updated: May 18, 2025
By: Tony Caldwell

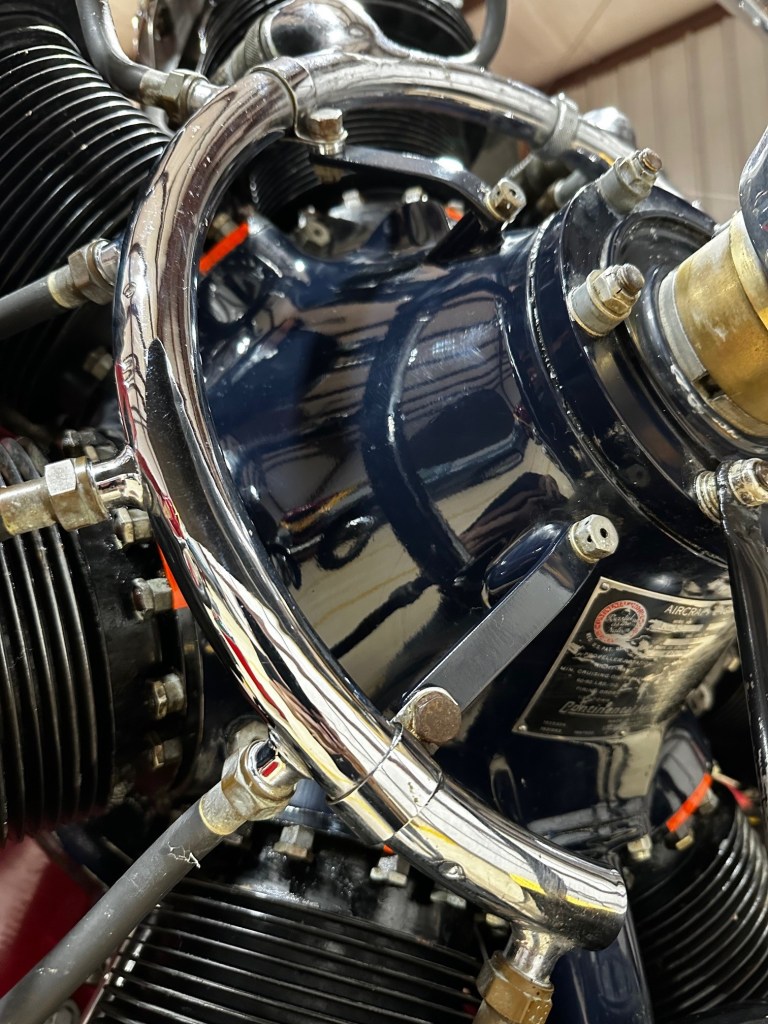
I think every pilot, even those who fly modern flat-engine airplanes, knows that radial engines make a mess. Mostly that's noticed on the hangar floor, and every radial owner has their way of trapping their engines' drips and drops. But that oil doesn't just dribble on the floor while at rest – it flows out of the engine in flight and finds its way to all kinds of inconvenient places. After a few years, especially if regular cleaning isn't detailed and rigorous, the dirt, grime, and debris trapped by that errant oil create a seemingly overwhelming dirty bird.
Add to all of that what can happen with lots of outside flying time, especially in marine environments, and what was once a spectacular, shiny, airplane begins to show its age. The great news is that modern covering materials like Polyfiber seem to be able to last an incredibly long time and dirt, faded paint, and other surface detractions can be cleaned up and the appearance returned to new.
I’m fastidious. My friends have a different description of that trait, which I won’t repeat here, but with a touch of obsessive-compulsive trait, too, I like things clean and neat. This isn't easy with radial engine biplanes, but it is possible with a bit of work. Since I'm not very mechanical, cleaning is my contribution to maintenance, but even I need help sometimes
In this article, I'm going to detail the cleanup of N32071, a 1940 UPF 7 I recently acquired. This is a magnificent airplane, the result of a six-year restoration by the famed father and son restorers John and Scott Shue. It’s a former Lindy winner and magazine cover girl. But that was over 15 years and nearly 750 hours ago.
When it got to me, this is what it looked like:
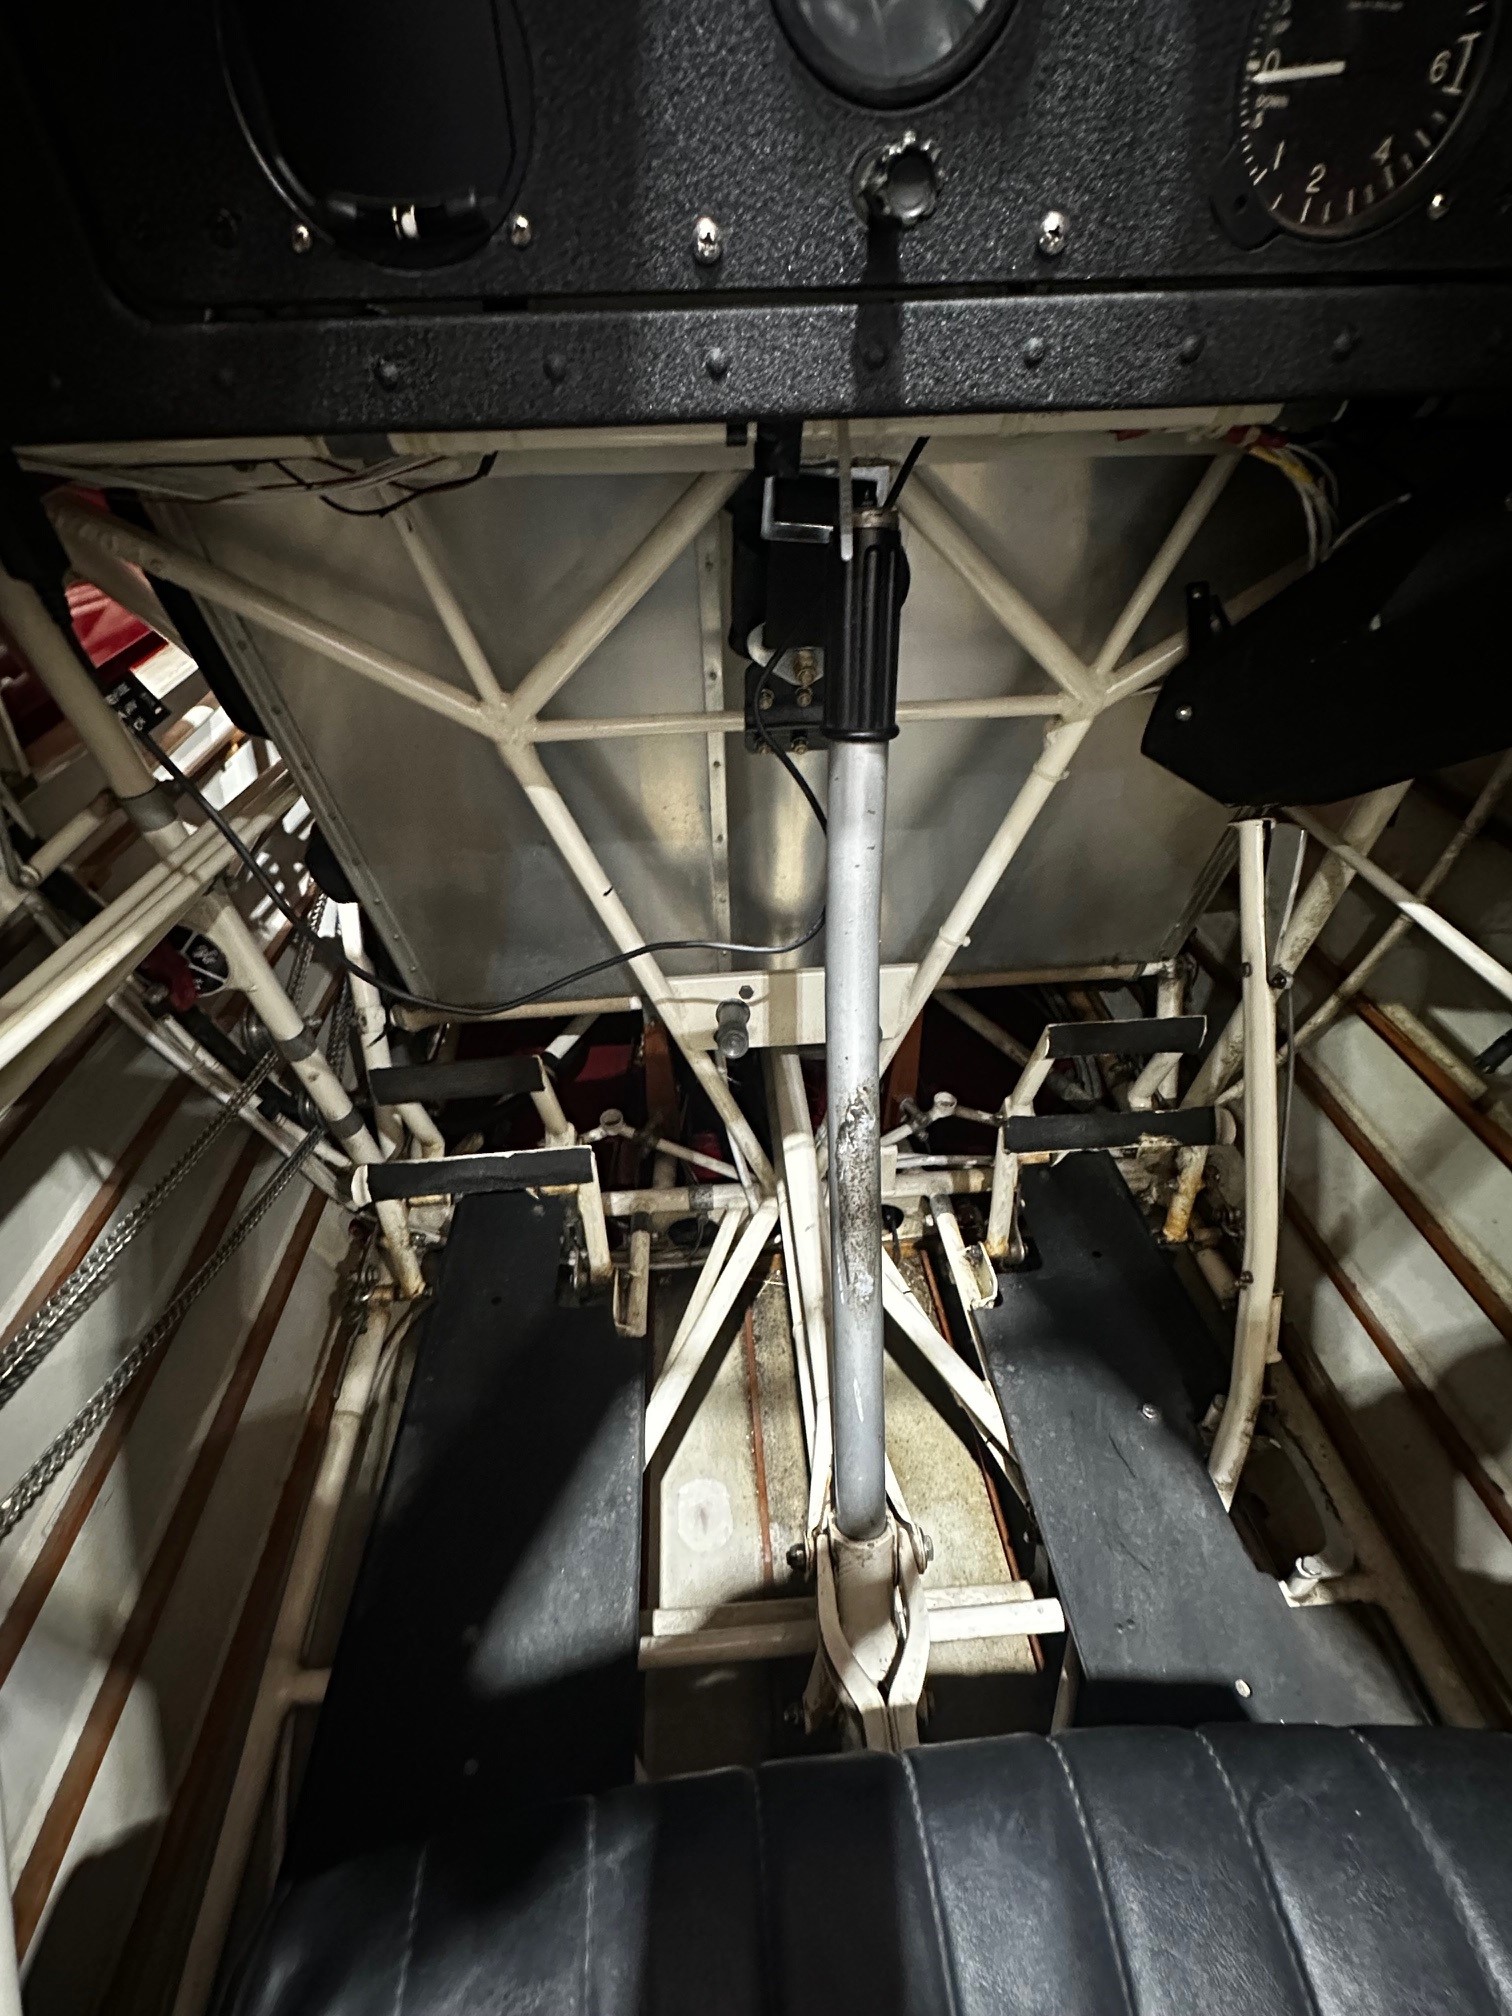
As you can see, oil, grease, and dirt had invaded the cockpits and covered everything. The engine itself was grimy, and the paint was faded, oil-streaked, blotchy, and tired-looking. But underneath all that lay a beauty with lots of time left to be admired and explored.
"But underneath all that lay a beauty with lots of time left to be admired and explored."
Here’s what I did to bring it back...
Step One - Get the Grease Off
I started with the engine and gave it a bath. To do this, I set up my air compressor with a "siphon" rig to spray mineral spirits into all the cracks, crevices, and cooling fins. Mineral Spirits is a good solvent for petroleum products, evaporates quickly, and is inexpensive. After setting up the siphon rig, I took all the sheet metal pieces off from around the engine, cleaned them thoroughly, and set them aside.
Using the siphon gun, I started front to back, top to bottom, and side to side, spraying liberally. Then, while wet, I used shop rags, plastic bristle brushes, and long-handled cotton swabs to rub, buff, and get the stubborn debris off. Looking at the hangar floor after the mineral spirits evaporated showed just how much crap there was on the engine (and that I had a floor buffer project in my future to clean the floor!). The time to complete these steps was about four hours.
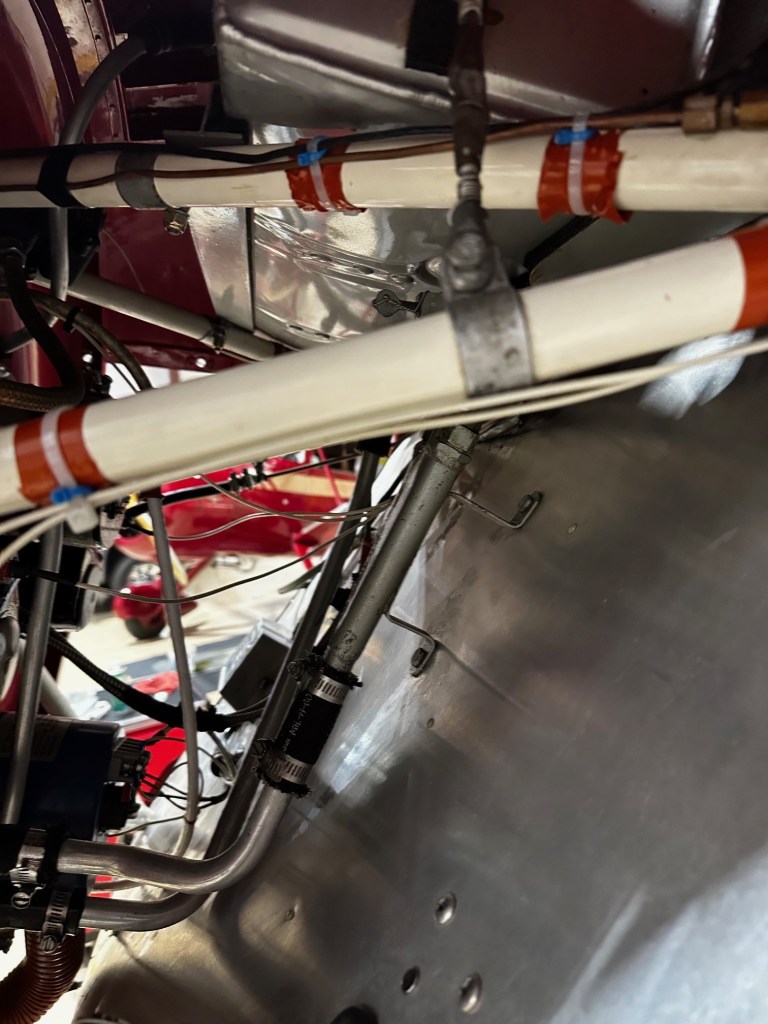
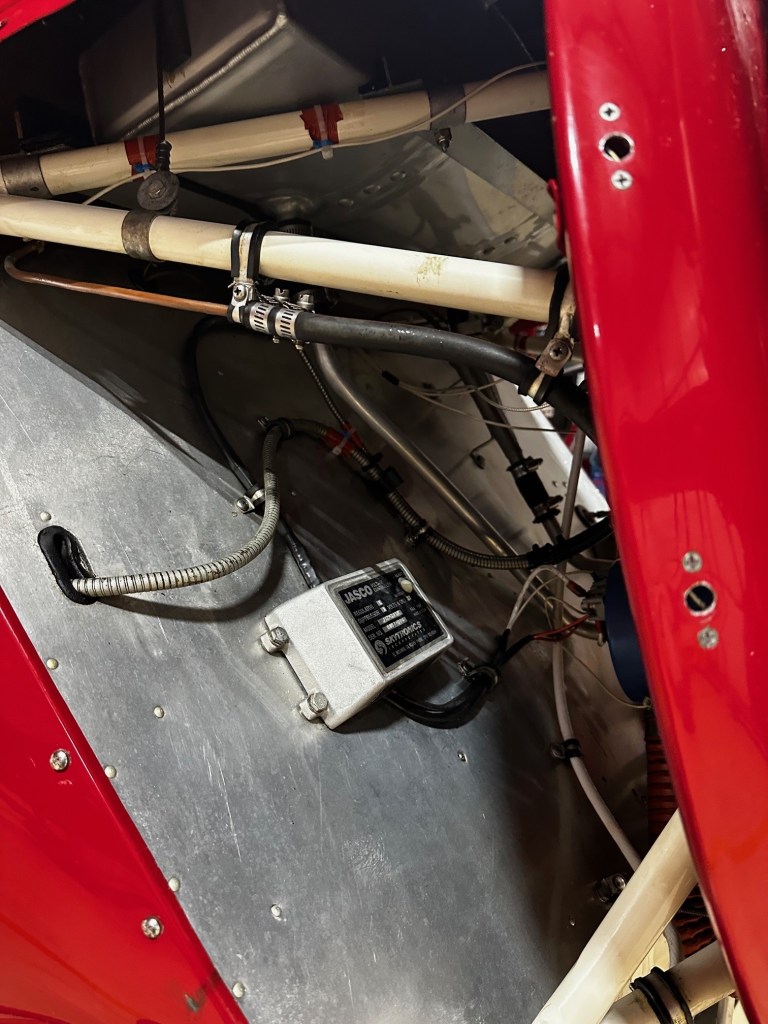
Next, I rolled under the plane's fuselage and removed all the metal access panels. I cleaned both sides thoroughly with an organic degreaser and reinstalled them. Then I sprayed degreaser everywhere underneath the plane and got to work wiping vigorously with shop towels. The time to complete this was about two hours.
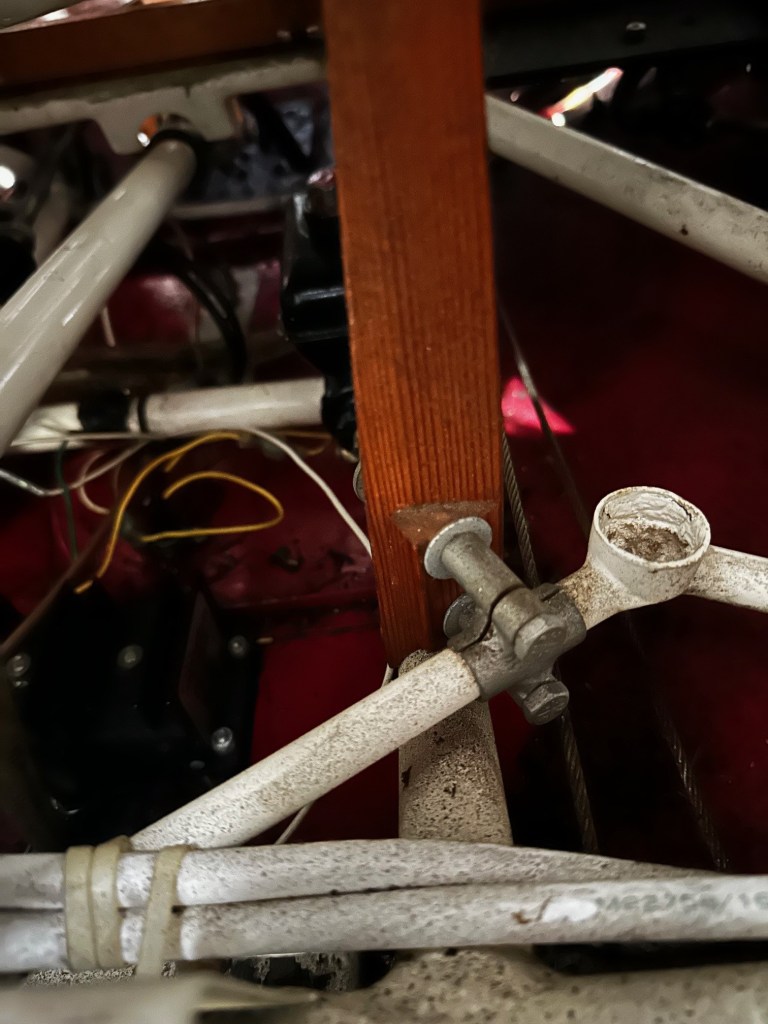
Step Two - Clean the Cockpits
Over time, oil flows through the bottom of the airplane in a fine mist and coats the framing tubes, the inside of the fabric, seats, and everything else. This attracts dirt and pretty soon you have an unattractive mess. I set plastic bristle brushes, cotton swabs, a stack of white shop towels, a big spray bottle of organic cleaner, and a can of spray aircraft cleaner on a cart next to the plane and climbed into the front hole.
There isn’t any magic to this step, it's just spray, scrub, and wipe. The hard part is that it's tight and cramped, and some things seem virtually inaccessible. But with diligence, you can get most, but not all of it. The front hole wasn't as bad as the rear and only took about an hour to clean. Moving to the back, I spent three hours with a lot of it seemingly standing on my head! The time to complete these steps was about 4 hours.
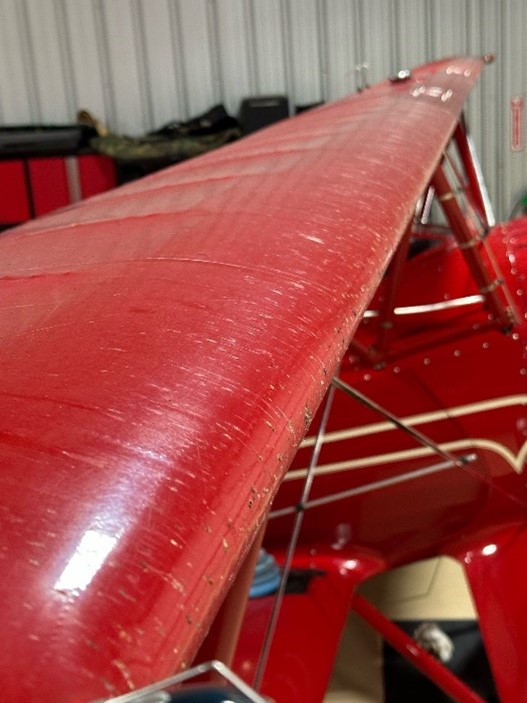
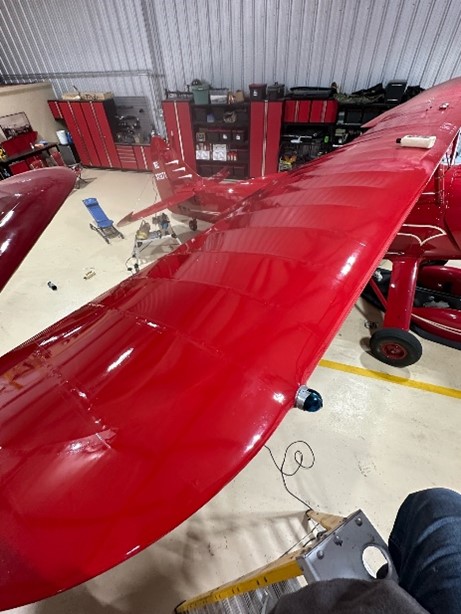
Step Three - Clean the Paint
This step is pretty easy. The surfaces are basically flat, and since it's easy, former owners have cleaned oil and dirt off fairly regularly. I start by setting up my creeper, step stools, and 600-pound cantilever ladder. Having the right tools to reach the top wing surfaces and the lower ones is important not just for efficiency but safety. Leaning over a wing, and stretching to rub something eight feet in the air from a step ladder is just asking for trouble.

I use a variety of organic cleaners that won’t hurt paint or metal with white shop rags, which have a bit of roughness to them, followed by lots of microfiber towels for final wiping. I don’t skimp on towels for this step as the final result depends on buffing with dry towels. This step took about three hours.
Step Four - Call in the Expert for Paint Correction
After nine to ten hours of hard physical work, the airplane was clean. But the paint was dull and oxidized, and some of the white striping and lettering were discolored. At this point, I had three options:
Accept it. It's a beautiful old plane as it is. But it looked like an old plane, and I knew with some more work it could be stunning. Or I could sand off the paint (or strip off the fabric and recover) and repaint, and it would look brand new. But that's tens of thousands of dollars.
Get out my power buffers, paint compound, and other tools, and go to work polishing. I know how to do it, but it’s an amazing amount of work. I estimated that I’d spend 80 hours doing it right. And I knew that when I was finished, it would look really good. I also knew there was a better way.
Call the Pro. This is a special airplane. It deserves to look its best, and even though I'm capable, people who do things all the time professionally are just usually better than amateurs. So, I called Jamie Lyons and asked, "When can you come to Oklahoma?" Luckily, he was finishing up another project and headed my way.
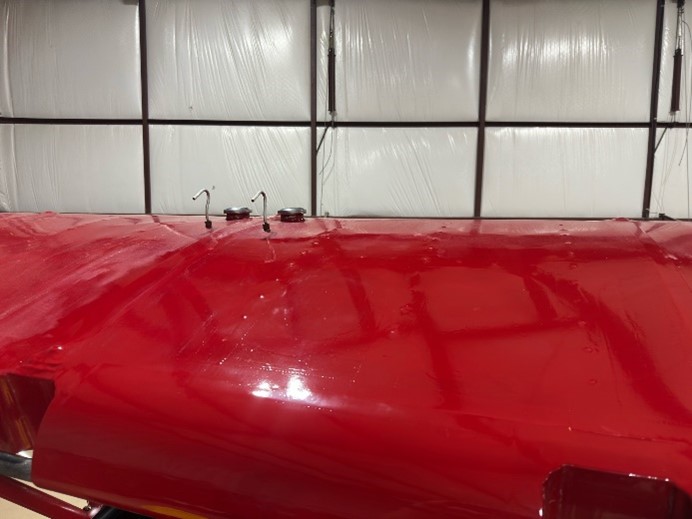
I first saw Jamie work his magic when he cleaned up a UBF 2 for me a few years ago. Since then, he’s worked on four or five of my planes and turned ordinary into sparkling beauty. It’s a painstaking process and involves lots of labor and specialized equipment. He starts by removing oxidized paint. How much and how long it takes depend on how bad the problem is. In this case, it's pretty bad, and he had to make two passes over each section, stopping frequently to clean his pads that quickly got caked with residue.
After getting down to clean paint, he then uses orbital buffers and polishes to polish the paint to a mirror shine. He does the same thing to the metal propeller and other shiny metal bits.
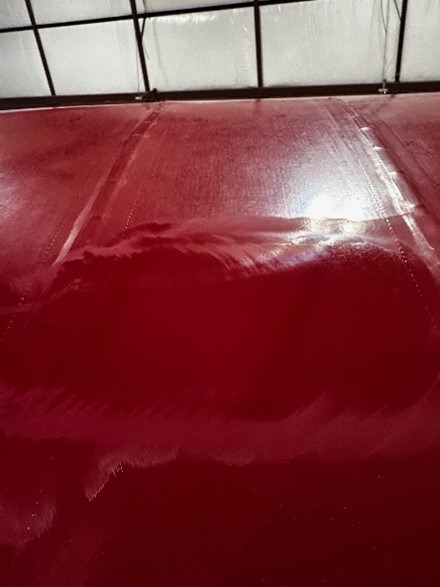
The last step is optional but important I think, and that's to seal the paint with a ceramic coating. The ceramic seals the paint pores, which protects it. It also makes subsequent cleaning during post-flight maintenance much quicker and easier. Jamie says the coating is good for about five years.
Wait! I forgot something very important! If you plan to touch up any paint, you need to do it before applying ceramic coating, as the paint won't stick to it. In my case, the paint covering is excellent, and I don't need to do it on this project.
It took Jamie about 75 hours to complete his work.
Summary
Everyone has their idea about what is acceptable for caring for their airplane. I like mine clean, and I like to allow them to look their best. I think the power to fuel dreams, inspire awe, and motivate others to want to care for these beautiful objects of art is enhanced when they are clean and shiny. Plus, as I mentioned, I'm a bit OCD. If you employ a great cleaning regimen from the beginning, these steps may never be necessary. But most of us don't start with brand-new airplanes.
All told it took over 100 hours of labor, my amateur work, and Jamie's professional efforts, to get this 1940 trainer of heroes back to magazine cover beauty. Even with all of that, it's not finished. I will need to buff some metal fittings to remove surface corrosion, use a lot more cotton swabs in deep recesses, touch up chipped paint on some fasteners, and spend a few more hours cleaning interior fabric before I'm finished. I estimate that it will require another twenty hours of work. But it’s too cold here now to fly an open cockpit biplane comfortably, and these will be pleasant hours staying connected to the power that these beautiful antique airplanes hold over me. If this blog reminded you about that polishing project you've been putting off, click the link to get in touch with Jamie and learn more about the services he offers and the products he recommends.


Comments